First Cilium Pull Request
Cilium has a fairly large codebase, with many different features, implemented in two very different languages1, and covered by an extensive CI. Contributing for the first time can be a daunting task. Nevertheless, Cilium has received code contributions from more than 800 people to date!
In every release cycle, many people are contributing for the first time. I’m hoping this post can serve as a getting started guide for them, with some advice also useful to more experienced contributors.
This is not the official contribution guide, but my own advice. Especially when writing about Cilium, it’s worth restating that opinions expressed in this blog are my own and not the project’s or my employer’s.
- Finding What to Work On
- Larger Contributions
- Preparing the Branch
- Opening the Draft Pull Request
- Open for reviews
- Review rounds
- Passing the CI
- Merging!
- Common Questions
- Conclusion
Finding What to Work On
When searching for something to contribute, a good place to start is probably the good-first-issues.
It’s best to select one where you have some idea how to make the changes.
Expecting other contributors to tell you which exact places to patch in the codebase is not a good solution.
Small documentation changes also make for excellent first contributions in my opinion because they are typically easier to get merged and still allow you to get familiar with the process. That being said, a pull request fixing just a typo is probably not worth it.
Fixing something that you noticed was broken or unideal while running Cilium is usually the best, mostly because you’ll be familiar with the issue and more motivated.
Larger Contributions
The process for making larger contributions is typically a bit different, as you’ll need to discuss it with the community first. Submitting a large set of changes without first discussing with the community is unlikely to lead to any successful outcome.
Cilium Feature Proposals
For larger contributions, especially new features, it’s best to go through the Cilium Feature Proposal (CFP) process first. The usual steps are to start writing it out in a Google document (see examples), ask for reviews in the community meeting, then submit it to cilium/design-cfps once it’s more stable. You don’t need to wait for the CFP to be merged before submitting a first implementation as draft pull requests.
Splitting in Pull Requests
Prefer small pull requests. Preparatory changes can be their own pull request if they make sense on their own.
People sometimes also split the feature changes themselves, between datapath and agent changes, ingress and egress, or whatever else makes sense. In that case, it’s best to hide the feature from users (ex., via a hidden flag) before all pieces are in.
Preparing the Branch
Within a pull request, commits should be kept small, each with few changes. Refactoring changes should be separated from functional changes. Tests can be separate commits as well.
Commit descriptions should explain the why. You will often also need to explain the what, if it’s not obvious from reading the code. The commit title should tell the what. For example, the following commit has a title that explains the what (we ignore a drop reason in the CLI) and a body that explains the why (because it should always be ignored so we might as well ignore it by default).
commit a92f8c3e0ac44f4d7ed7ee210c000da5ea93f9aa
Author: Paul Chaignon <paul.chaignon@gmail.com>
Date:   Tue Oct 29 11:12:23 2024 +0100

    cilium-cli: Ignore "No egress gateway found" drops

    Those drops currently need to be ignored in all tests involving the
    egress gateway, so we might as well ignore them by default in the
    connectivity tests.

    Signed-off-by: Paul Chaignon <paul.chaignon@gmail.com>
Remember to sign off your commits, with git commit -s.
If you forget, a bot will come complain on your pull request, even if it’s still in draft.
I recommend adding a Git hook to never forget.

If you’re making functional changes, you should definitely test them locally by deploying Cilium.
Opening the Draft Pull Request
Summarize the changes in the pull request description. It doesn’t have to be long; the main description is in commits. I typically don’t write more than a sentence per commit and sometimes just a couple sentences to sum up the whole changeset. If you have a single commit, the pull request description can be that commit’s description2.
If you have rights to set labels, you should set the release-note/{misc,minor,major,bugfix,ci} label with one of its five values.
If not, one of the reviewers will set it.
This label determines where in the release notes your pull request will be announced.
You should only set release-note/bug if you are fixing a bug that was exposed to users (that is, a released bug).
release-note/major is for major changes, such as new features.
release-note/minor is for any other change with user-visible impacts (ex., a new metric).
Finally, release-note/ci is for tests and release-note/misc for everything else.
See the existing release notes for examples.
If you are making a user-visible change3, you should also fill in the release note itself, at the bottom of the pull request description. This is particularly important for bug fixes. It will be used in release notes to described how your changes affect users. You should be specific so that users can understand if they are affected and how. For example, for a bug fix:
```release-note
Fix transient connectivity issue on upgrades when IPsec and IPv6 are enabled.
```
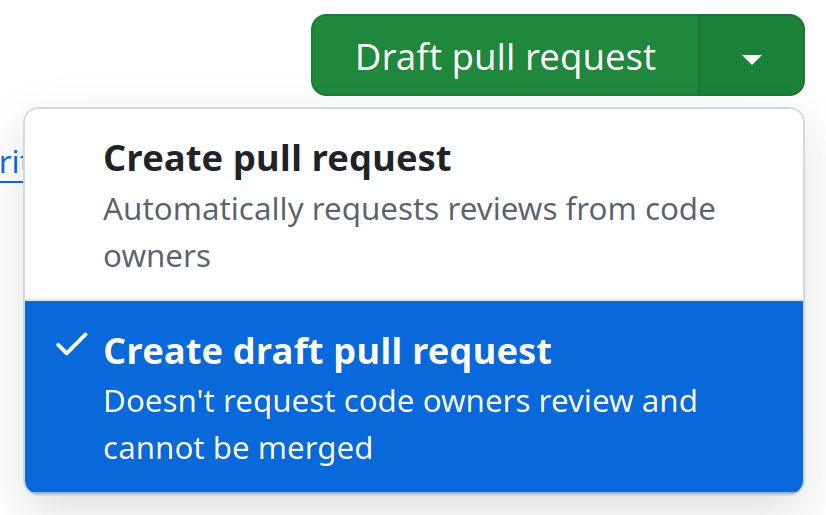
Always open in draft first! That way you can run the CI before asking people for reviews. There’s no point asking for reviews if the CI is surfacing bugs in your changes.
The CI consist of initial tests, triggered whenever you push, and end-to-end tests, which need to be manually triggered.
Wait for all initial tests to be finished. It takes about 20 minutes. Once they all completed, ask an Organization Member to trigger the end-to-end tests. If you don’t know one, ask in #development on the Cilium Slack.
End-to-end tests can take up to several hours to finish, though most finish in less than an hour.
Note that If you only have documentation changes, you probably don’t need to trigger end-to-end tests before making the pull request ready for reviews; the tests will all be skipped anyway.
See Passing the CI below if any tests are failing.
Open for reviews
Optional: If you have rights to assign reviewers, just before making ready for reviews, it may be worth selecting reviewers you know are familiar with your changes, for example people who reviewed the CFP. Consider that you will need reviews covering each review team listed in Reviewers, so asking for reviews from people not on those teams won’t help you achieve that specific goal4. Don’t assign specific people without asking them!
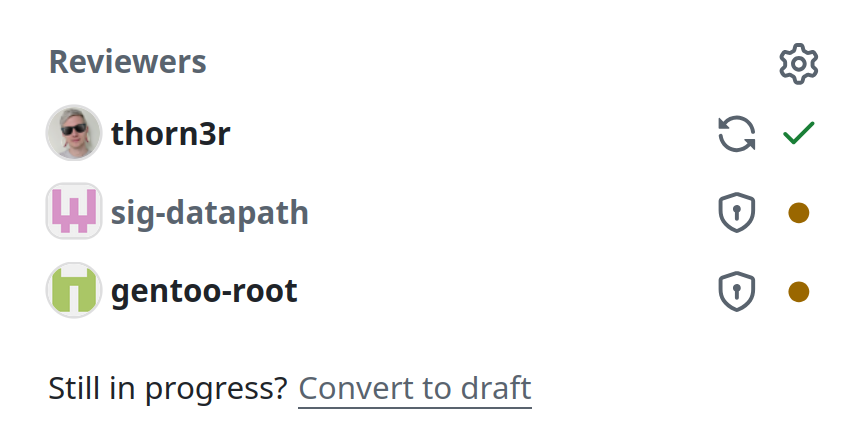
Make the pull request ready for reviews.
Wait for reviews. After a few days without response, post a message in #development on Slack. If you still don’t get the reviews, you can try to ping the assigned reviewers directly in Slack.
Review rounds
Try to address reviews quickly. The faster you re-requested a review, the more likely reviewers are to still have all the context. For that same reason, I wouldn’t recommend making a pull request ready for reviews just before leaving on holiday.
Whenever pushing a new version, make sure to also rebase so you don’t end up with failing tests or merge conflicts because your base is too old. You can use the following commands to rebase:
git checkout [your_branch]
git remote add upstream git@github.com:cilium/cilium
git fetch upstream
git rebase upstream/main # Resolve conflicts if any.
git log # Check everything looks alright.
git push origin [your_branch] --force-with-lease
Don’t forget to mark conversations in the pull request as resolved if you addressed them. The pull request cannot be merged until all conversations have been resolved.
After addressing a review, always re-request a review from the reviewer.
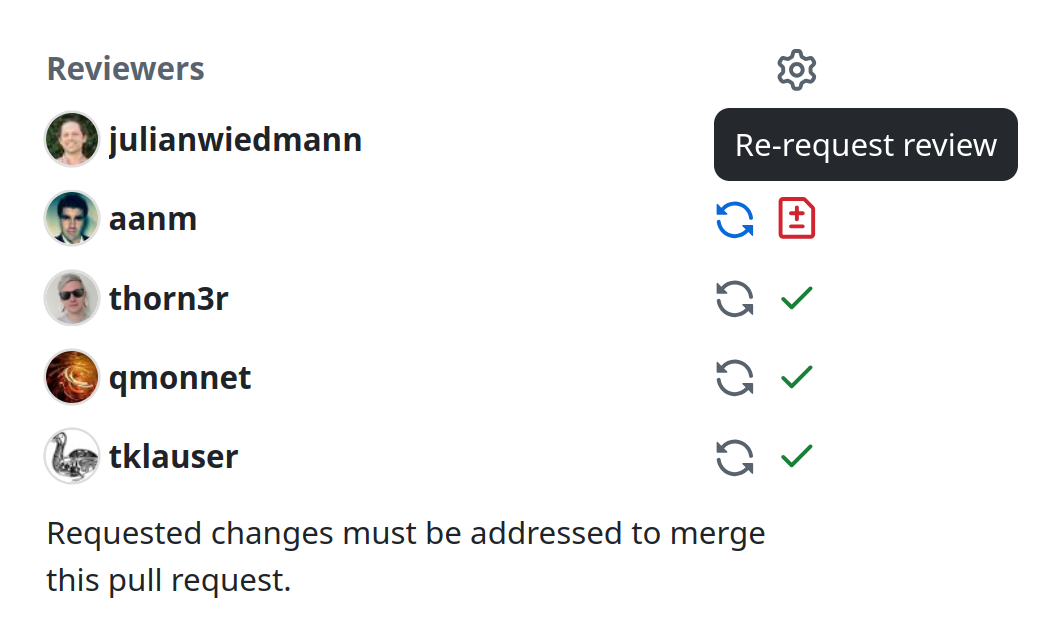
Some reviewers will nitpick. Most will indicate which requests for changes are nitpicks. That’s fine and a good indication those requests are optional. It probably helps to address them though, especially if you’re a new contributor.
Passing the CI
For each failing CI job, first check the error and if it could be related to your changes. Is it in the same code area? Are almost all tests failing? Then, it’s likely related to your changes.
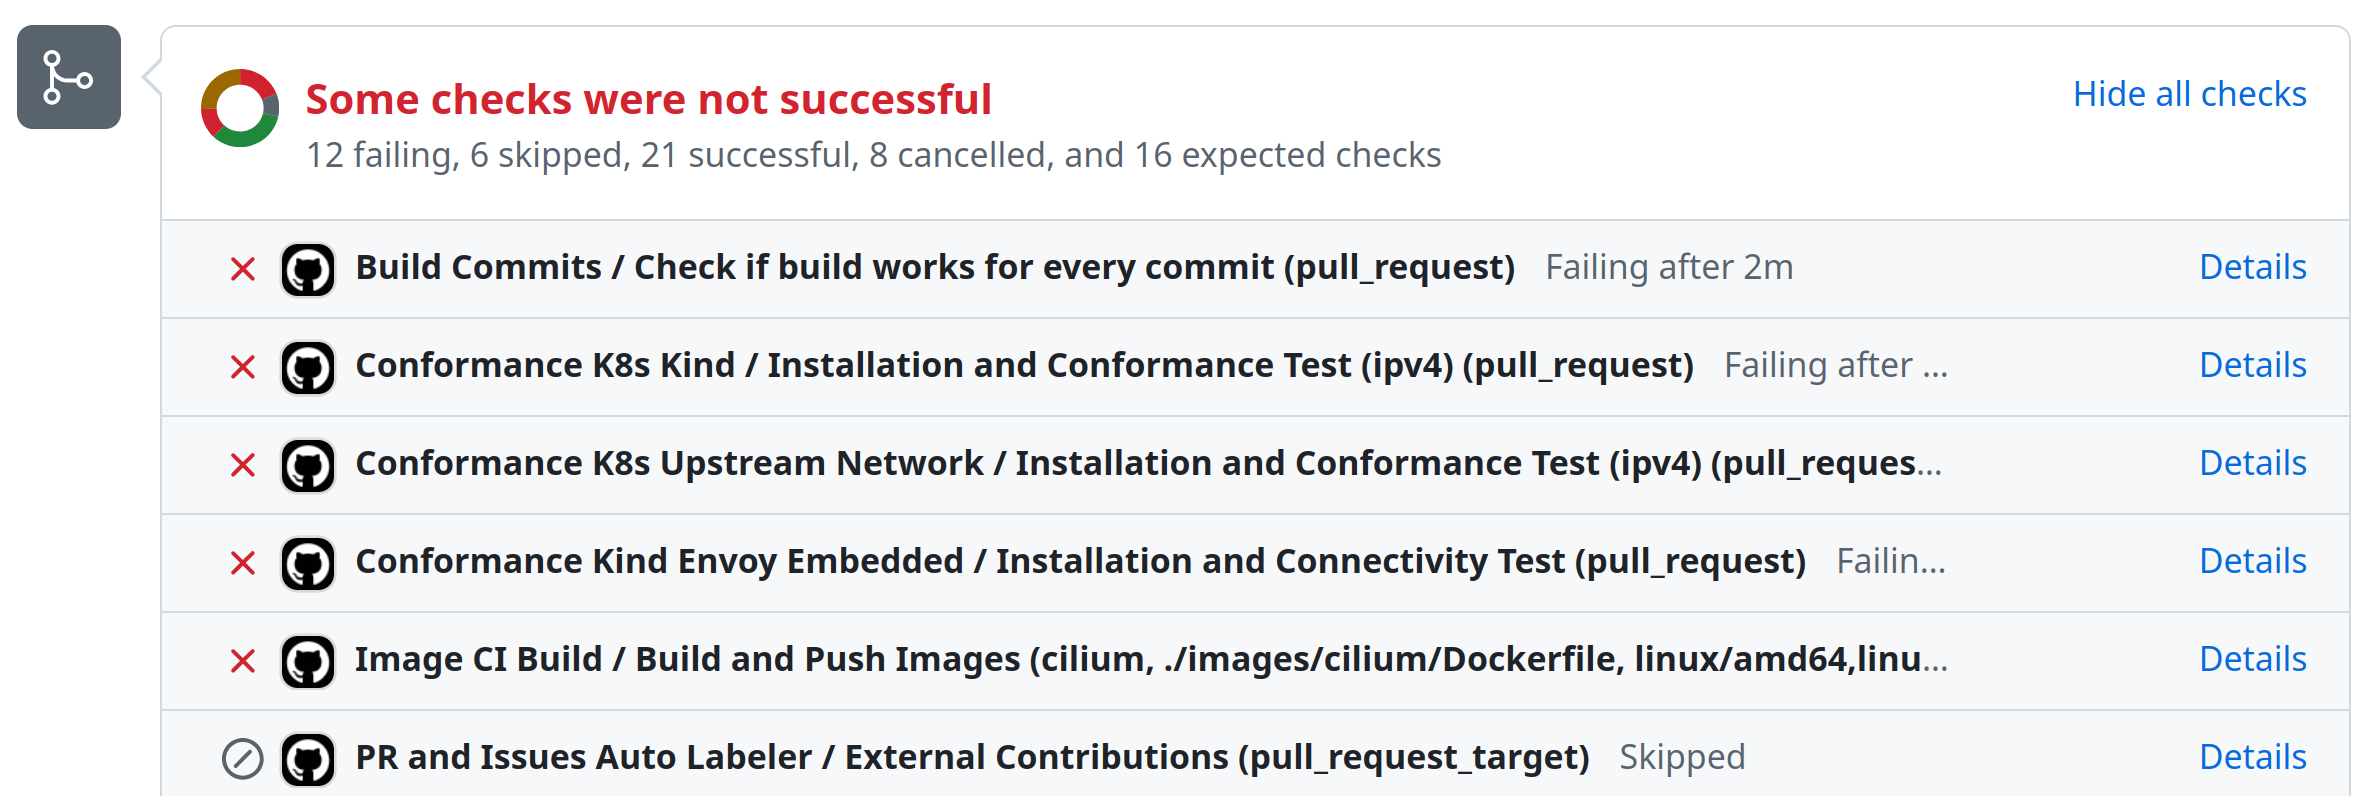
If it doesn’t look related, ask for someone to re-trigger. Note reviewers may sometimes do this while reviewing, to help you out.
If the same tests fail again with the same errors, it’s either related to your changes or something is broken in main.
To check the second possibility, search for the error in GitHub issues.
If you don’t find any issues, check if those same tests are passing on main.
To find the test runs on main, go to Actions, select the workflow on the left, then filter by event:push or event:schedule5.
If the main runs are consistently failing, ask for help in #development.
Being an Organization Member helps a lot here because you can retrigger tests yourself without having to wait for someone else to do it.
You can do this using the trigger phrases indicated in the name of many CI tests (ex. /ci-e2e-upgrade).
Being a Reviewer is even better because then you can retrigger only failing jobs in the failing workflow (see screenshot below).
See the section below on how to become an org member.
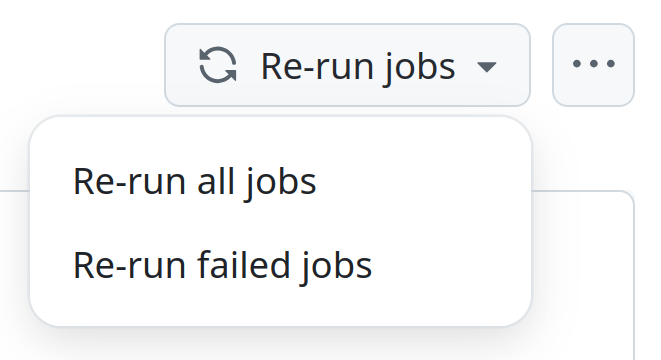
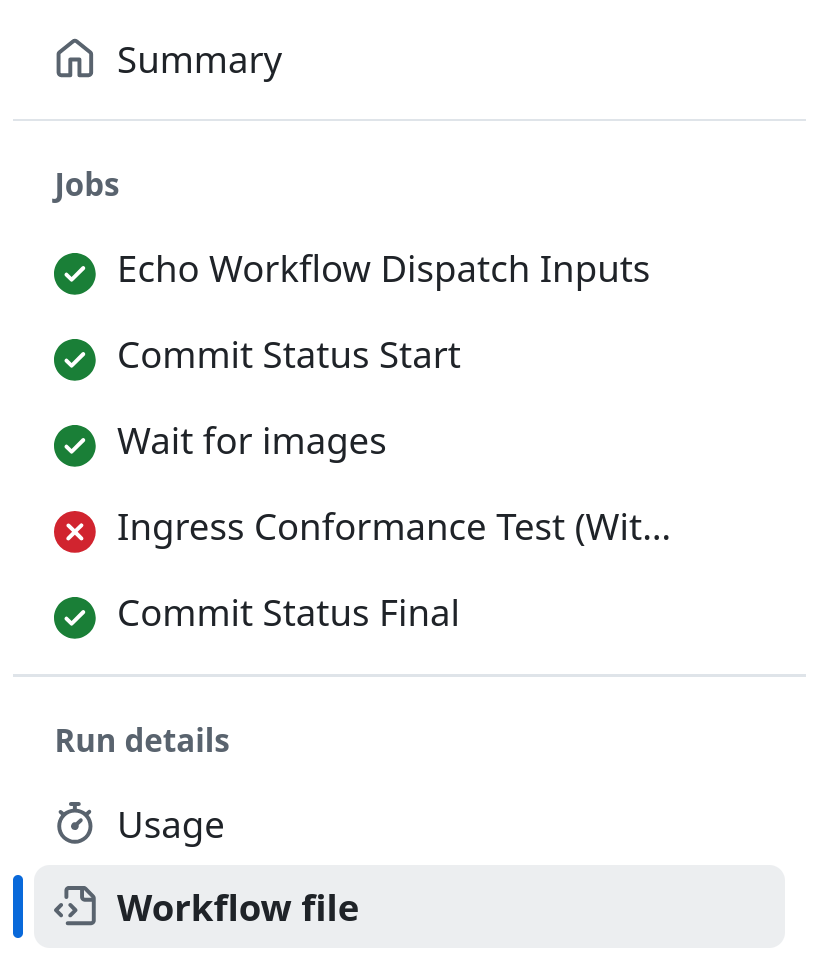
If you suspect your changes are causing the test failure, you might want to run the same tests locally. That is unfortunately not trivial because Cilium has many different ways it runs its tests in CI. Instead, I would recommend to first check the artifacts; Cilium sysdumps are attached for each failure6 and they contain a lot of debugging information. If that isn’t enough, you can find how to reproduce locally by checking the sources for the workflow. You can see the sources by clicking on “Workflow file” in the bottom left.
Don’t rebase your pull request just because a couple CI jobs are failing. When you rebase, you start from scratch in terms of CI. There are almost always a few CI jobs failing so if you rebase each time, you will never reach a green CI. That being said, if you didn’t rebase your pull request in a while (ex., your base is more than a week old), rebasing may help avoid CI failures.
Merging!
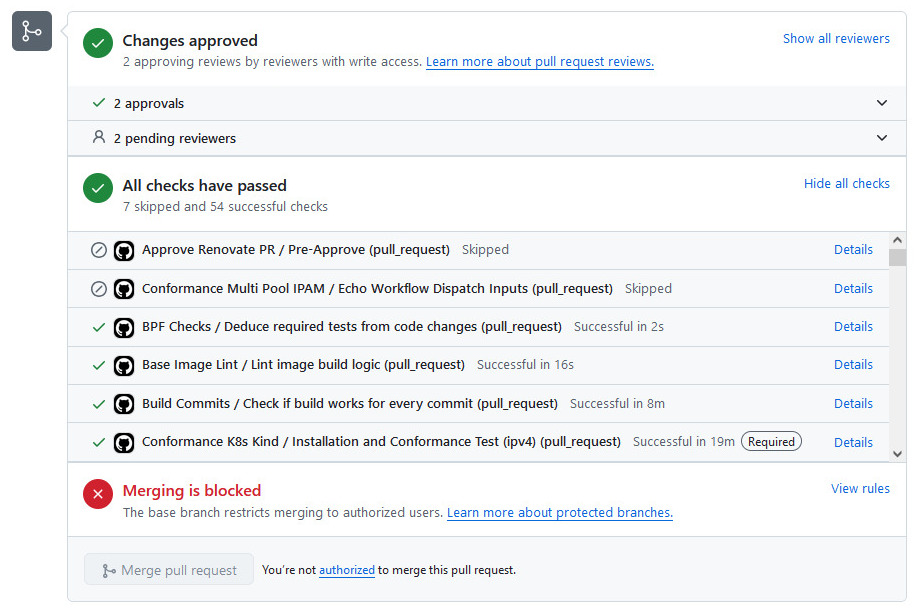
Once all review teams are covered with Approved reviews and CI is green, the pull request should be mergeable. You may need to ping in #development to ask one of the committers to merge it.
Common Questions
What Should I Do If the needs-rebase Label is Added?
If the needs-rebase label was added, it can be because there are merge conflicts or because a reviewer thinks it would help reduce CI failures.
You can rebase with the following steps:
git checkout [your_branch]
git remote add upstream git@github.com:cilium/cilium
git fetch upstream
git rebase upstream/main # Resolve conflicts if any.
git log # Check everything looks alright.
git push origin [your_branch] --force-with-lease
If there are merge conflicts, git will complain when running git rebase upstream/main.
Follow its instructions, fix the conflicts, and finish the rebase before pushing your updated branch.
What If I Want to Fix Something that is Broken in a Previous Release?
For bugs in stable branches, fixes should be sent to main first. After they are merged, they will be backported to the affected branches if they meet the backport criteria.
If the bug is fixed in main by another pull request, you should check on that other pull request if the backport was considered.
If it wasn’t and you think it matches the backport criteria, you can ask in the merged pull request to consider backporting it.
Don’t forget to explain why you think it should be backported.
For example: you reproduced the issue on that version and it matches backport criteria X and Y.
If the bug doesn’t exist in main but not because it was fixed by a pull request (ex. the feature was later removed or refactored), then you can send a fix directly to the affected branch.
Be sure to clearly explain why you’re sending the fix without going through main.
Note that it still needs to match the backport criteria even if it’s not actually being backported.
How and When to Move up the Contributor Ladder?
Cilium has a contributor ladder with multiple roles you can read about here. You can ask to move up the ladder on that same repository. The TL;DR of roles is as follows:
- Community Contributor: Everyone who contributes.
- Organization Member:
- Main power: Trigger CI tests by youself with
/test,/ci-e2e-upgrade, and similar comments. - When: After making several pull requests. I’d say minimum ~4, but the exact number isn’t defined and probably depends on the pull requests.
- Main power: Trigger CI tests by youself with
- Reviewer:
- Main powers: Retrigger only failing jobs within a CI workflow. Assign reviewers on pull requests. Your reviews count for the review team(s) you asked to join.
- When: After leaving reviews for a few months.
- Committer:
- Main powers: Click the merge button once green. Vote on project matters.
- When: You can’t request this. Another Committer will have to nominate you. I’ve usually nominated people after a year of semi-regular contributions and reviews, or sooner if the person contributes often.
If you’re planning to contribute to Cilium for a while, I’d recommend to ask to become an Organization Member as soon as possible, as it helps a lot with the CI.
Conclusion
Welcome to the community of Cilium contributors! I hope this guide will help you make many successful contributions. With a relatively informal process like this one, it can be hard to cover everything. So if you notice something I didn’t cover, please reach out!
And as usual in open source, don’t hesitate to reach out to fellow contributors in public channels. The best place for that is probably the Cilium Slack, in the #development channel I mentioned several times above.
Thanks to Simone for his help in understanding GitHub’s permission model.
-
Golang for the userspace parts and C for the kernel/eBPF parts. ↩
-
In that case, GitHub will automatically copy your commit description into the pull request description. ↩
-
User-visible changes correspond to labels
release-note/major,release-note/minor, andrelease-note/bug. You should write the release note even if you don’t have permissions to set the corresponding label yourself. ↩ -
Of course, having more reviews can help improve the quality of the pull request. ↩
-
Test runs on
mainare always running either on push or on schedule. ↩ -
Under the “Summary” tab on the left, at the very bottom of the page. ↩